In the fast-paced, cutthroat business environment of the 21st century, it's easy to lose customer trust—or worse—by making a simple mistake in an email. While it's always better to proofread your emails before sending them, mistakes sometimes slip by. Normally, when a mistake slips by, it ends up with follow-up apology emails and egg on your face, but if you're using Gmail, you have tools at your disposal to avoid those mistakes in the first place.
Recalling, or unsending, emails is one of Gmail's most useful features to help avoid embarrassing situations. Let's look at the feature and how to set it up.
How to set up Undo Send in Gmail
Gmail handles unsending an email by simply not sending the email until a predetermined period has passed after you click or tap Send. The approach of a delayed send might seem clunky, but it makes more sense when you consider the circumstances. Gmail doesn't control all the email accounts in the world, so the delay makes sure that you can undo sending regardless of who the recipient is because the email never reached the recipient's inbox.
Before you can unsend an email in Gmail, you need to create a delay between clicking the Send button and when Gmail actually sends the email. To begin, open your Gmail inbox in a browser and follow these steps:
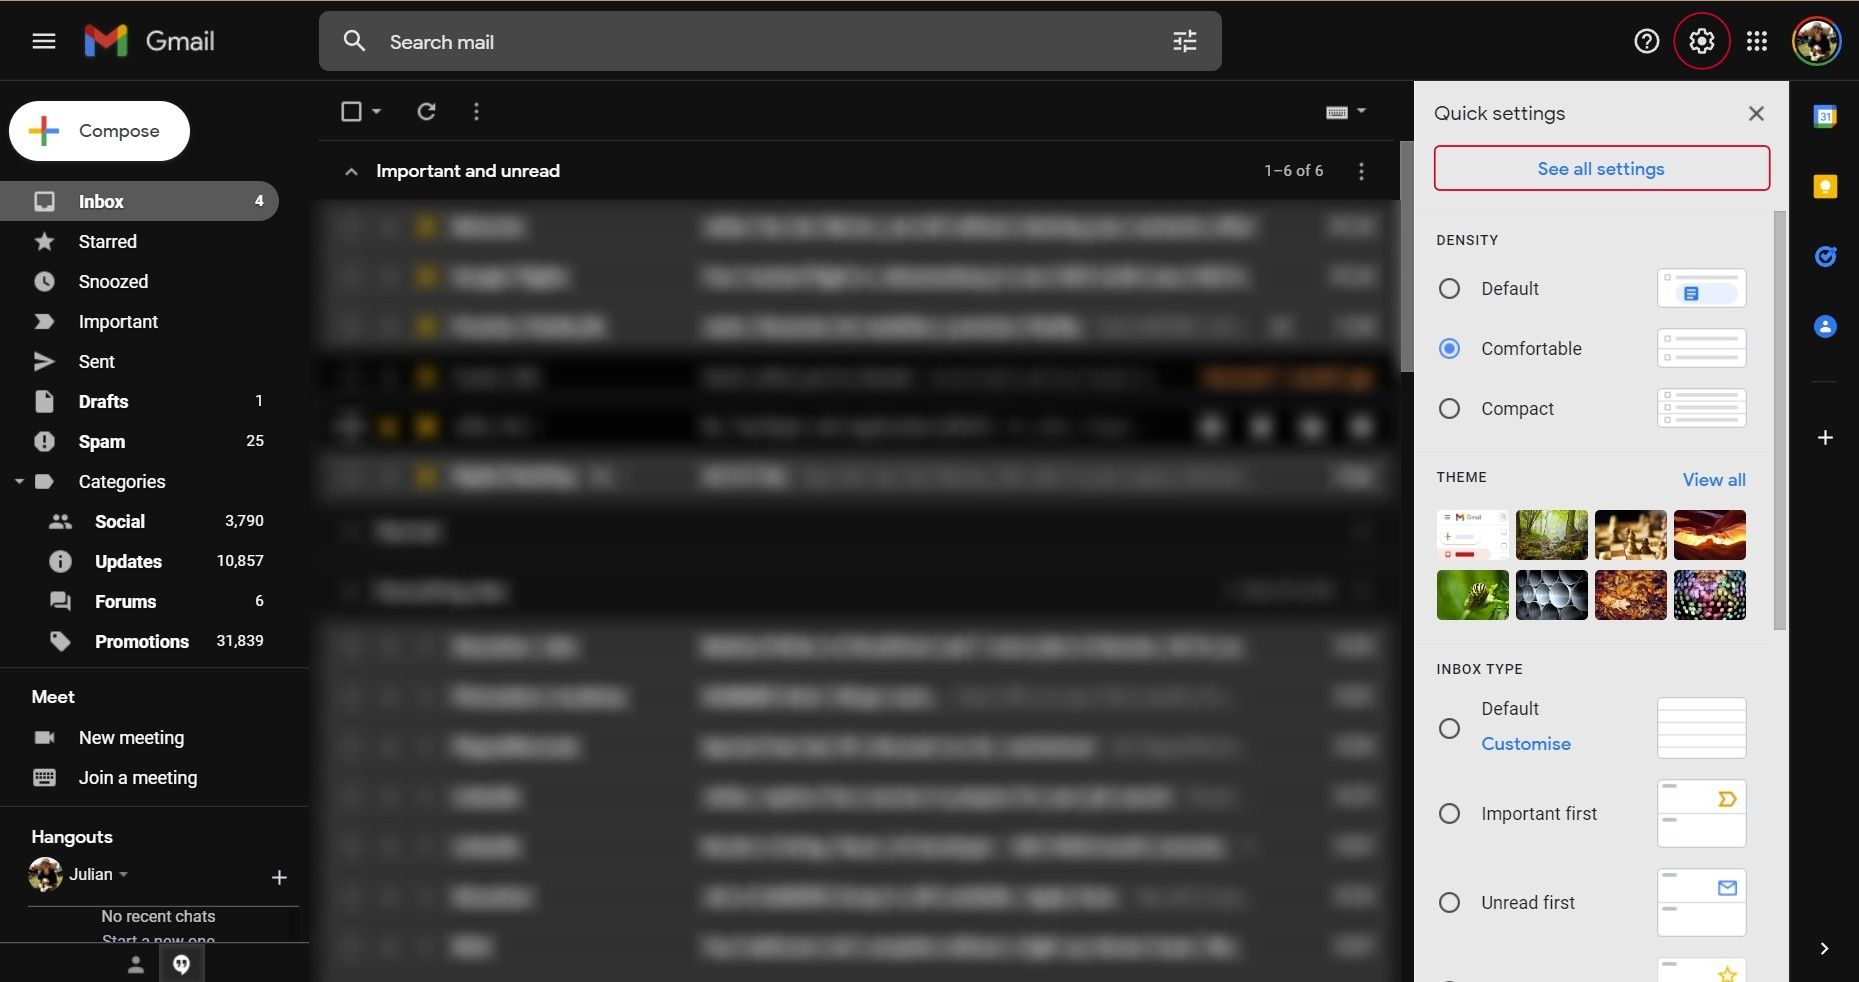
- Click the Settings cog in the upper-right corner of the window to open the Settings pop-up.
- In the Settings pop-up, click See all settings to open the full settings page.
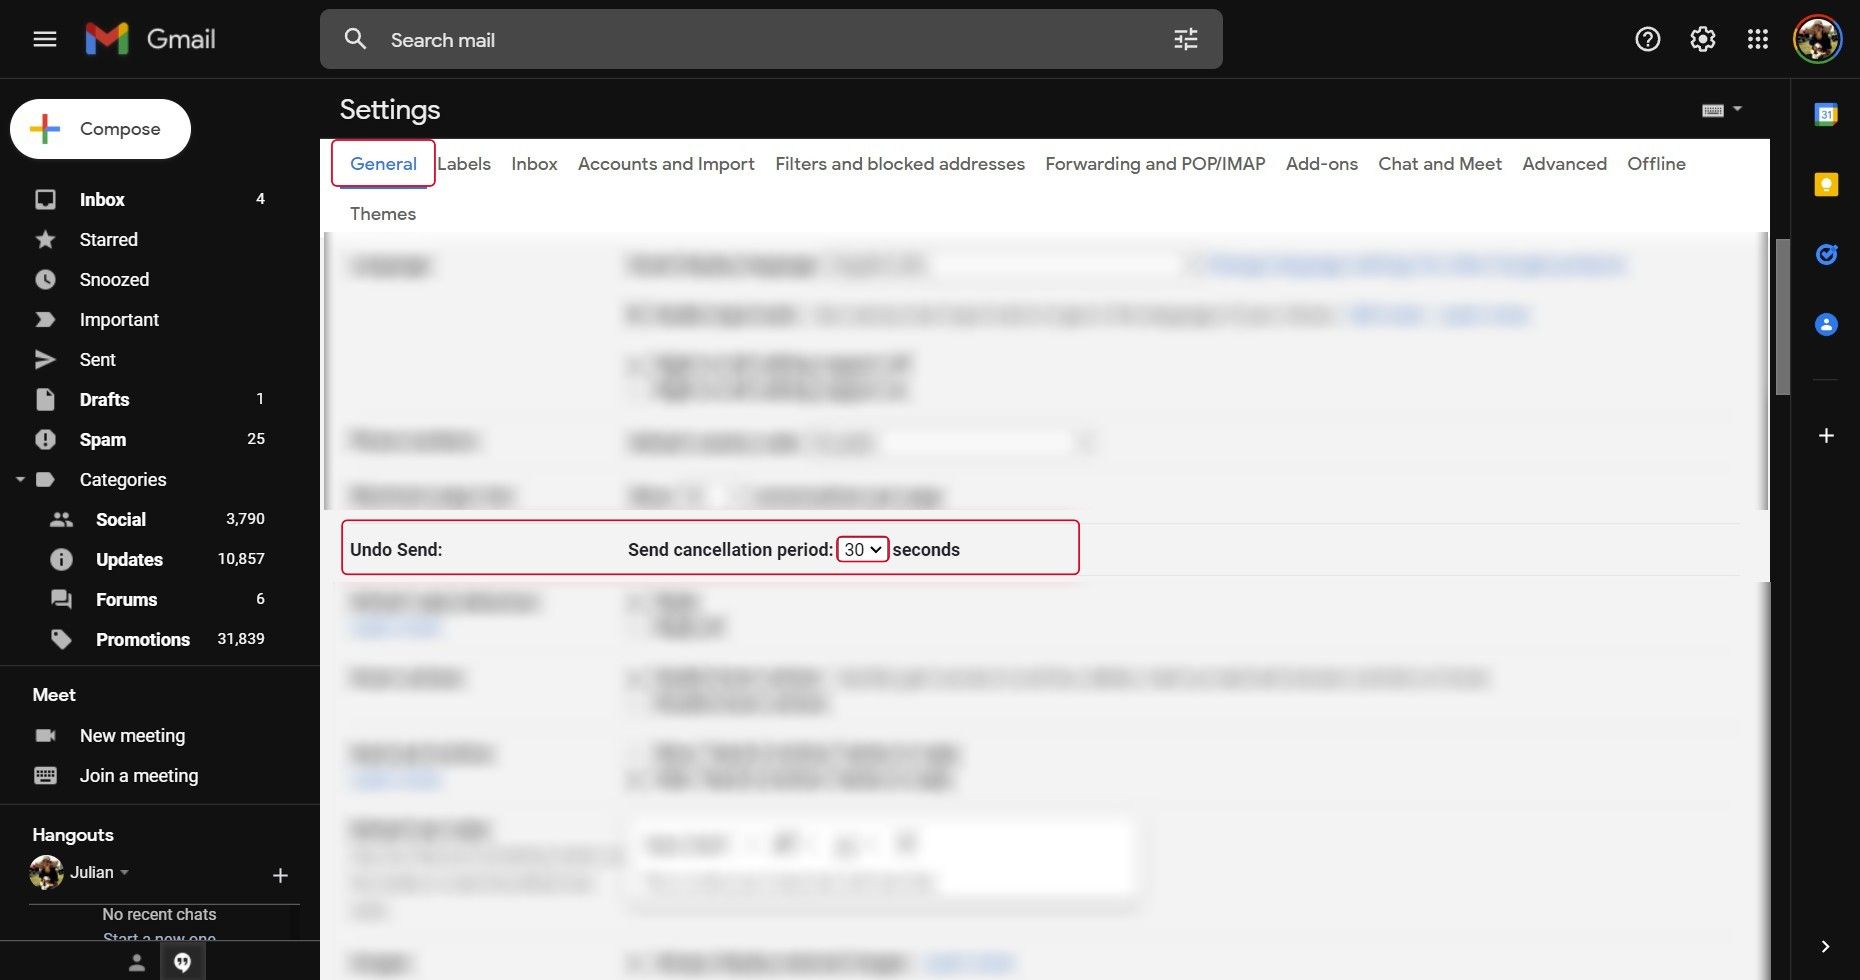
- On the settings page, in the General tab, find an option called Undo Send and use the drop-down menu to select the number of seconds to delay sending an email. The maximum send delay is 30 seconds.
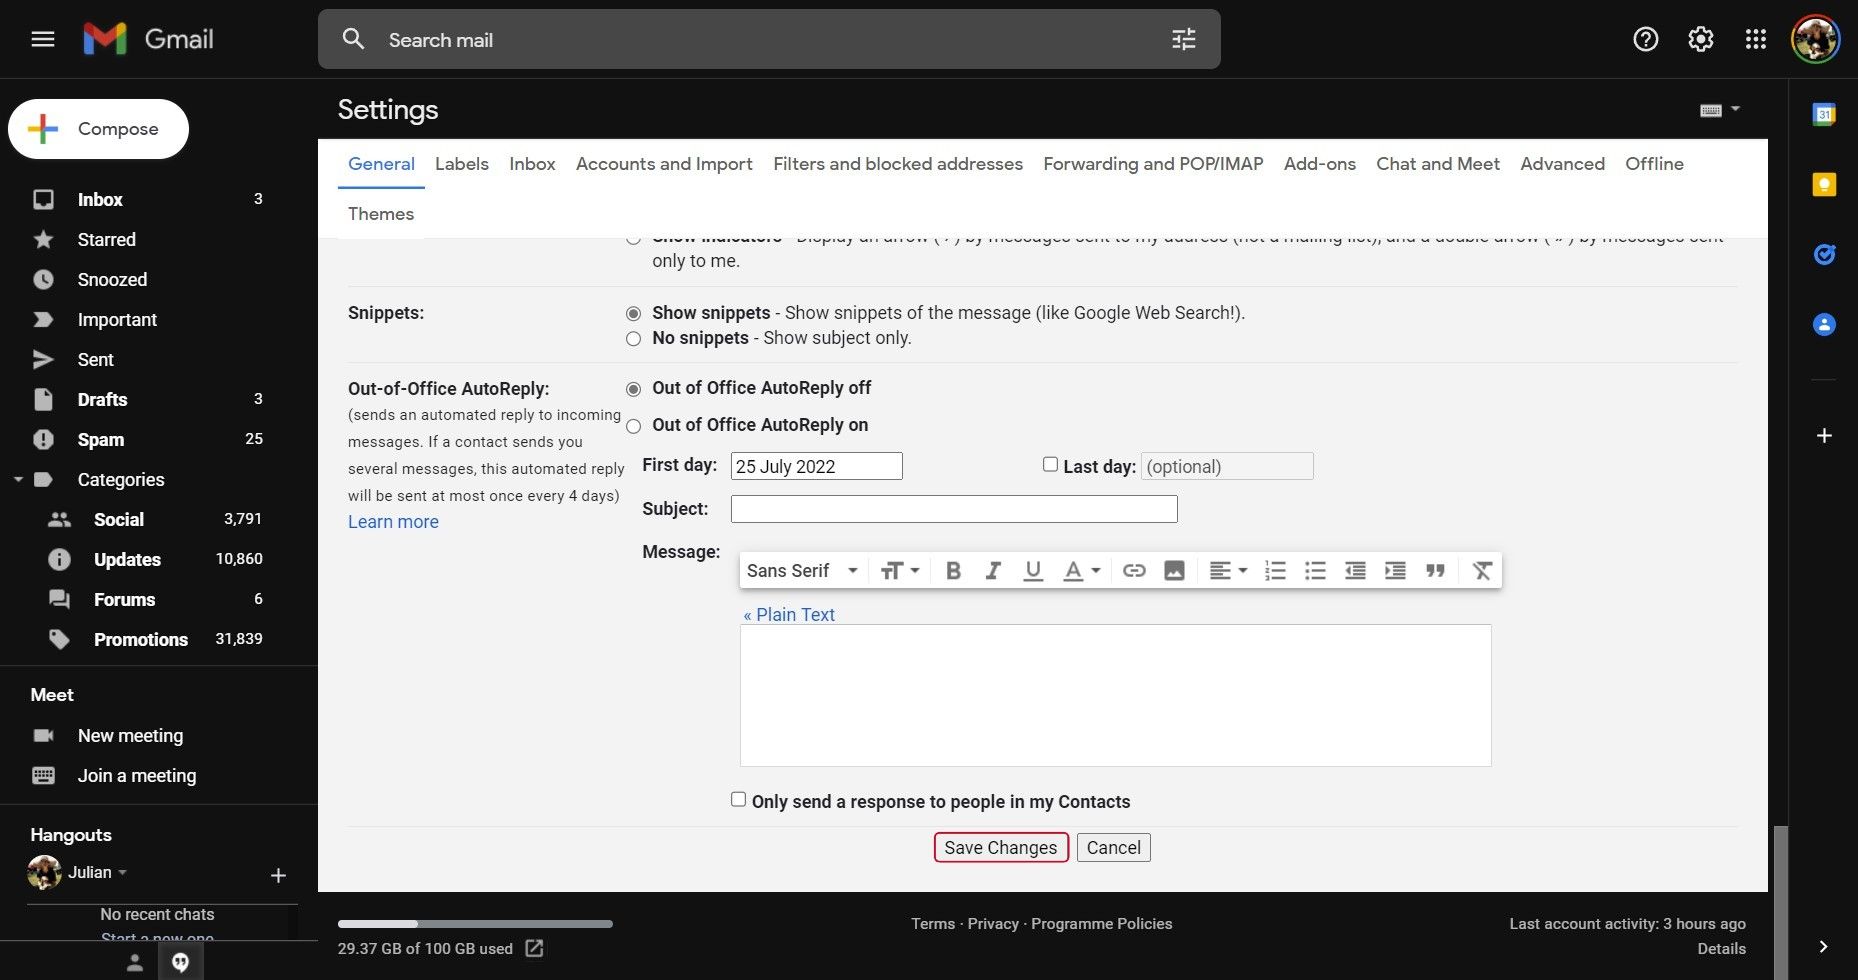
- After making the necessary changes to the Undo Send options, scroll down to the bottom of the Settings page and click Save Changes to save the new configuration.
Now that you have enabled a sending delay, you will be able to unsend emails when you realize you've made a mistake. You still need to be fairly careful since the maximum delay is only 30 seconds, which doesn't give you much time to review an email. Still, you should be able to catch a missing attachment or major typo before the email goes through.
How to unsend a Gmail in the browser inbox
Let's look at how to use the unsend feature in Gmail now that you've gone through all the effort to set it up. You can use the feature on both mobile and desktop versions of Gmail.
To undo sending a Gmail email from a desktop browser, follow these steps after you click Send on your ill-fated email:
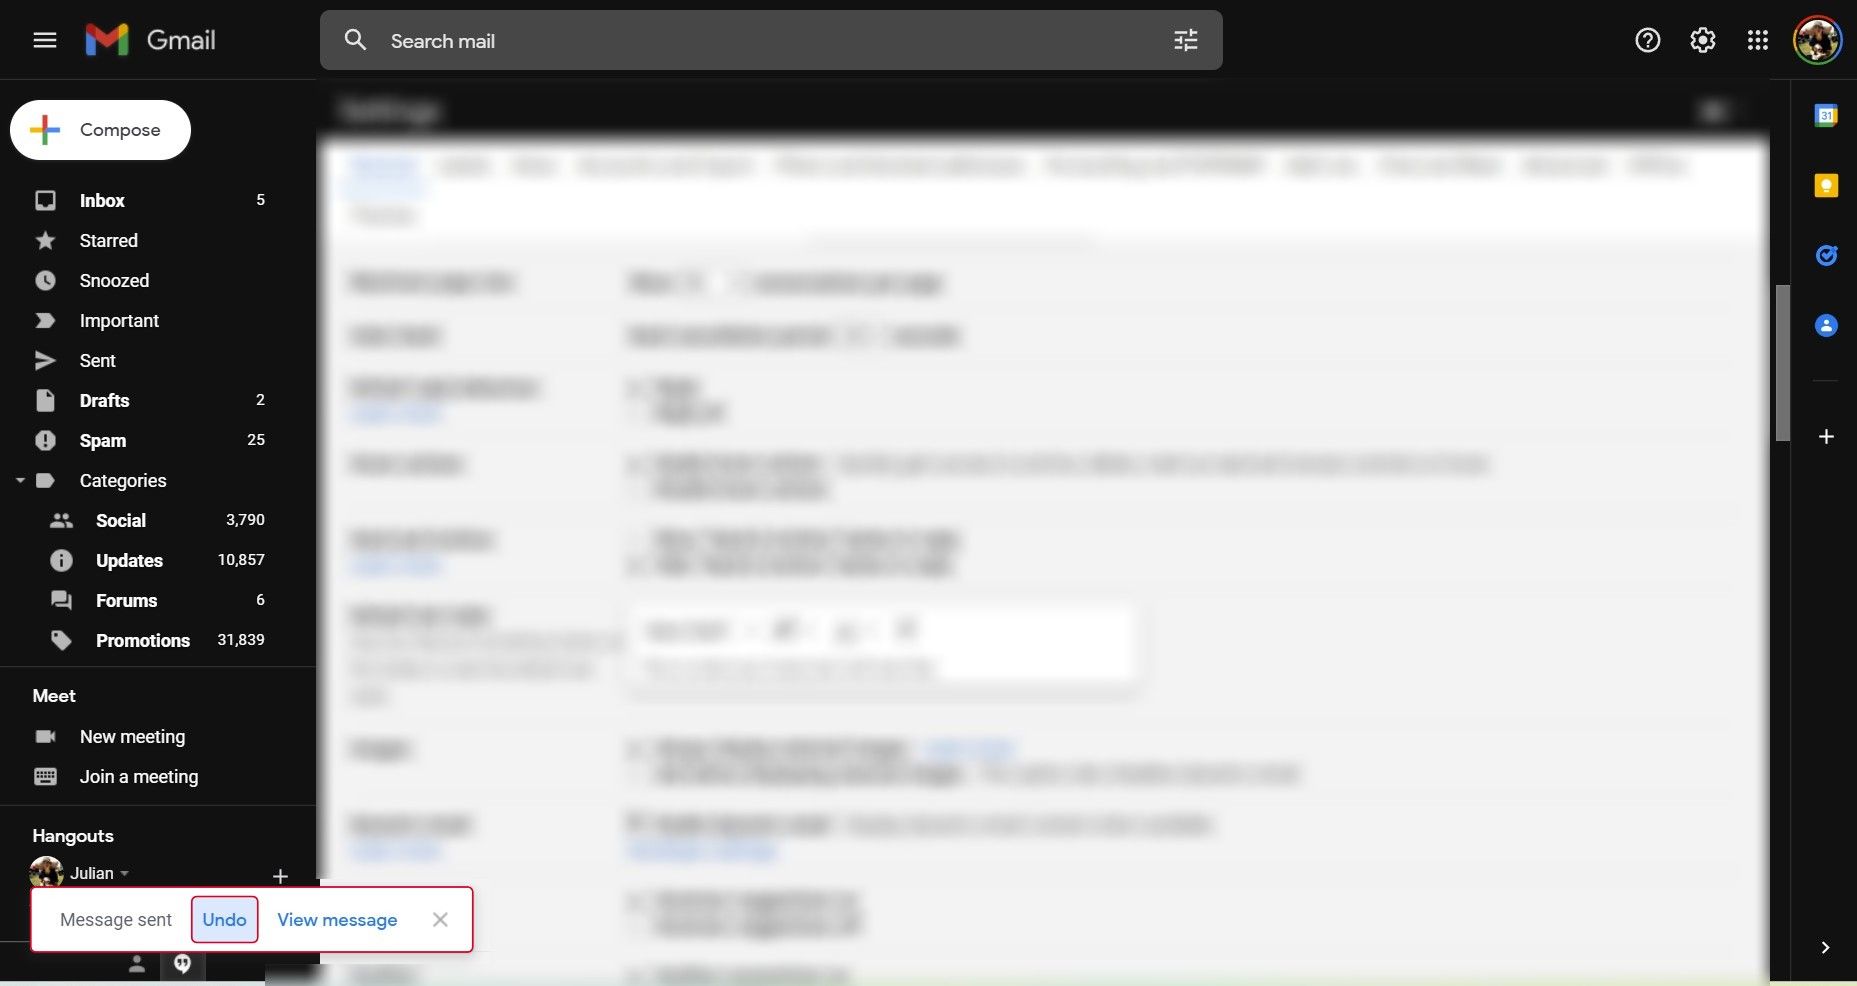
- After you click Send, a small pop-up in the lower-right corner of the screen confirms that the email is sending along with an Undo button.
- Click the Undo button in the pop-up to cancel the email and go back into the editor to correct your mistake.
How to unsend an email in Gmail for Android or iOS
Suppose you're prone to emailing while you're out and about. In that case, you'll be familiar with the dread of committing a grammar faux pas because of the unfortunate combination of multitasking, suboptimal autocorrect, or simply clumsy thumb syndrome. You can unsend Gmail emails from Android or iOS as well, and the process is pretty much the same as described above for the desktop version.
After you've completed your email and pressed Send, you see a small pop-up at the bottom of your screen confirming the email is sending. On the right side of that banner, you'll see an Undo button. To cancel sending the email, tap the Undo button. Undoing sending immediately cancels the email and puts you back in the text editor to make changes before you send it again.
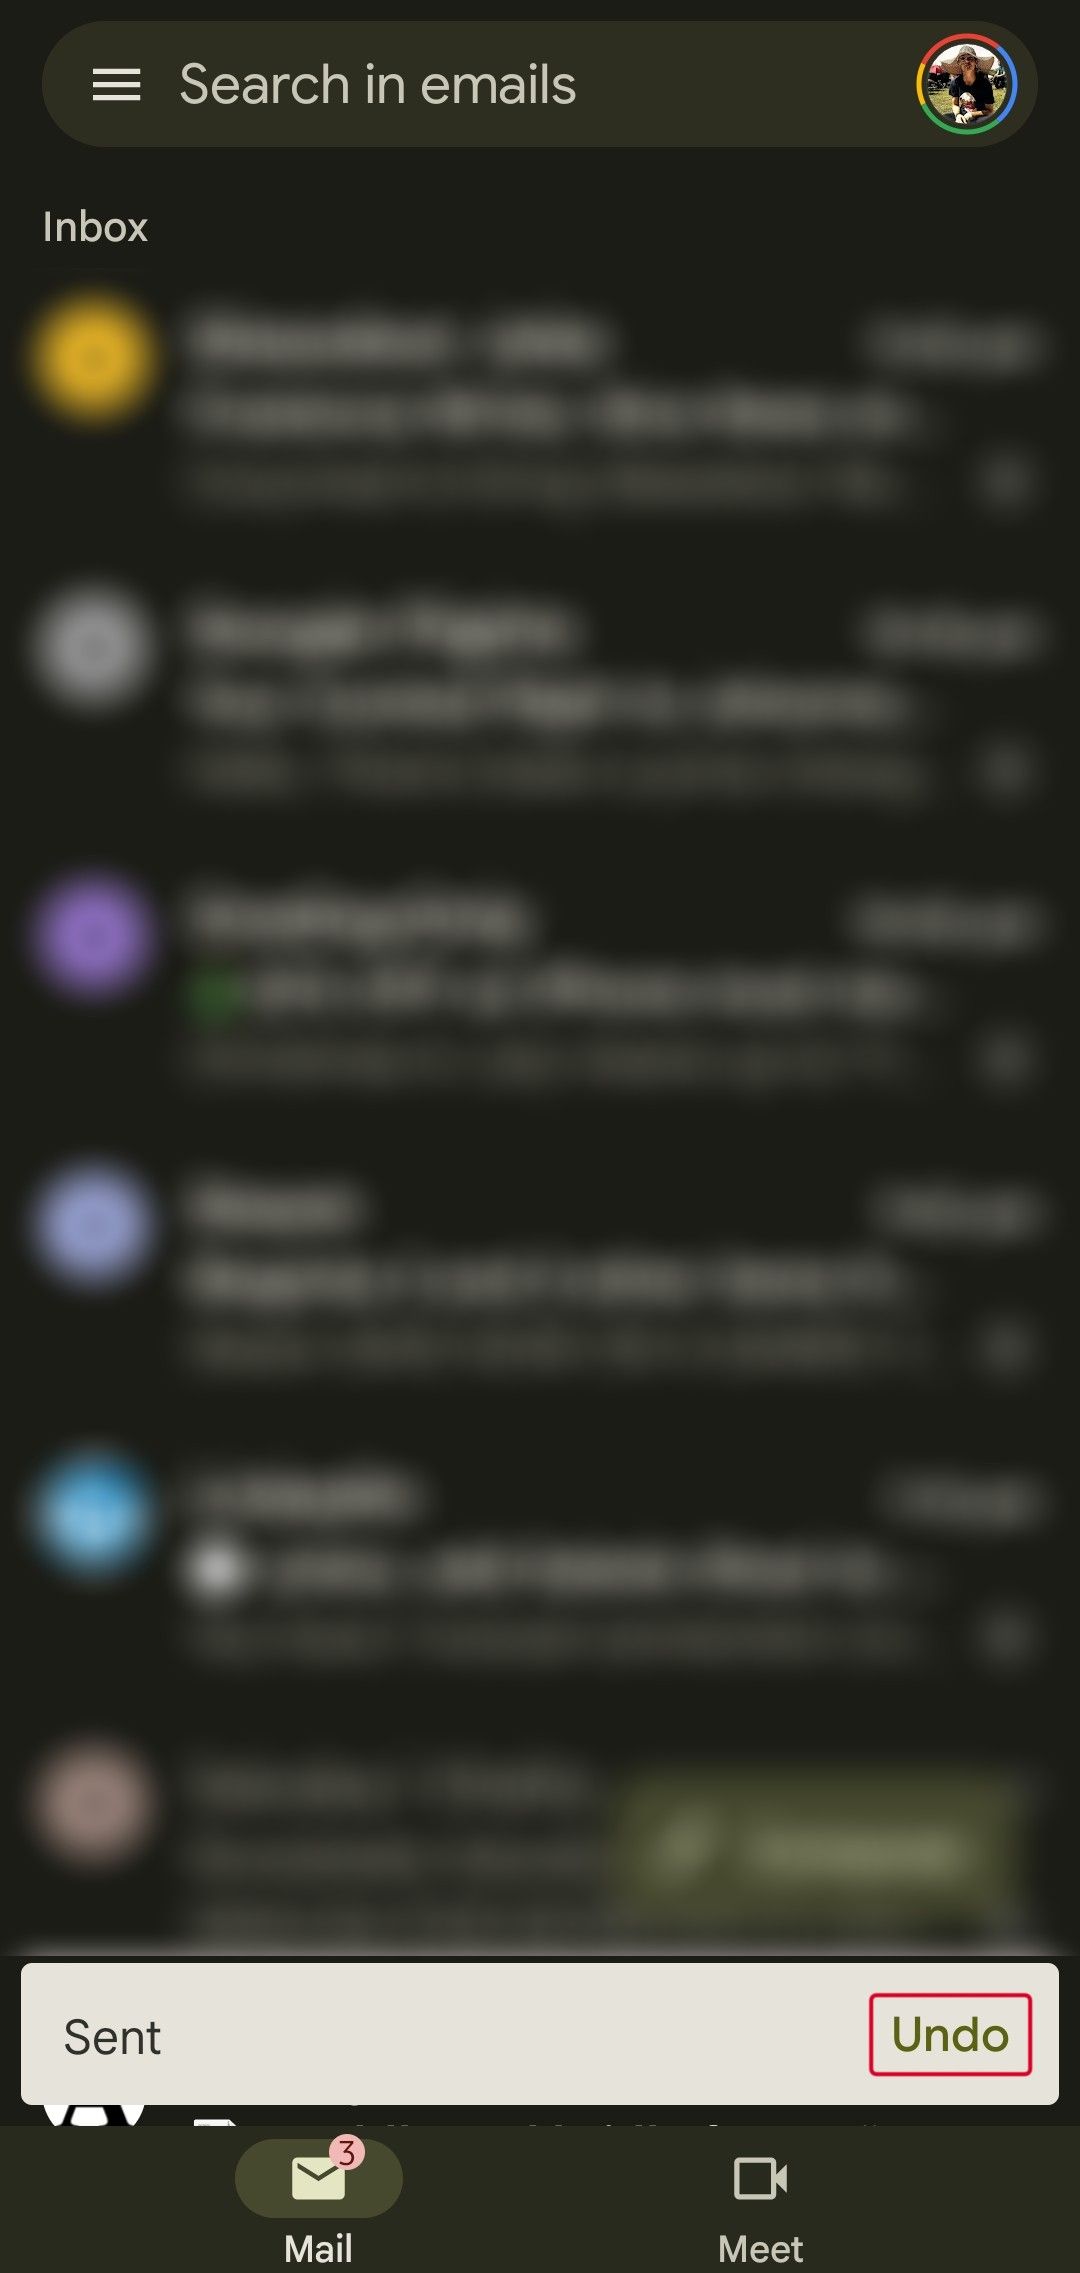
Once the sending banner disappears, you're out of luck and can't undo sending the email anymore. It's always a good idea to act fast if you think you might have made a mistake.
How to get a longer undo period in Gmail with scheduled send
If you hope to unsend an email hours after sending it, the regular unsend feature will let you down. Fortunately, there is a workaround for this exact issue. Instead of clicking Send on your email, you can schedule the send, giving you more time to think about what you said and make any changes that might come to you in any potential eureka moment. You can schedule an email in both the mobile and desktop versions of Gmail.
How to schedule an email in Gmail
If you're using a desktop browser and want an email to send at a certain time, instead of clicking Send, click the small up arrow to the right of the Send button to expand the Send menu, and follow these steps:
- In the Send menu, click Schedule send to open the Schedule Send options pop-up.
- In the pop-up, you can choose from a few default options, or you can click Select date and time to be more specific. Selecting a pre-defined time and date schedules your email immediately. If you opt for Select date and time, follow the prompts to schedule your email when you want to send it.
- Once you have selected a time and date to send your email, an option called Scheduled appears in the inbox sidebar. You can open the Scheduled outbox to view all your scheduled emails.
- To cancel your scheduled email—if you want to edit it before it sends—you can open the email and click Cancel send.
- After you click Cancel send, Gmail opens the email in the draft editor so that you can make any necessary changes.
- After you make your changes, you can resend your email or schedule it again for another time.
If you're on Android, instead of a drop-down built into the send button, access the Schedule send options by tapping the three vertical dots next to the Send button and selecting Schedule send. The rest of the process is basically the same as the desktop version.
Make Gmail work for you
The main benefits of unsending emails in Gmail are obvious. The feature exists for those times when you realize only slightly too late that you've forgotten to attach a file, or you accidentally clicked Reply all instead of Reply. Unsending emails is only one of many tricks you can use to master Gmail and make the prolific email service work for you.
If email tips aren't enough to level up your productivity, perhaps it's time to level up your on-the-go work by getting your hands on one of the best Android tablets.


 2 years ago
172
